
Introduction
I make baguettes every so often. And while they seem to get slightly better each time I do, the perfect baguette has been elusive. However, I really think I made some progress this week. I am staying with my brother Dave & his wife Heather at their place in the Hudson Valley for a little while. The other day Dave was telling me about an article he read in a recent issue of Cook's Illustrated on how to make authentic baguettes at home. I looked at the recipe and it really didn't seem much different from what I have done in the past, so I wasn't expecting to learn anything I didn't already know. Until I read the full article and discovered an ingenious trick for trapping steam around the baking baguettes.I have always gotten the best results baking in a covered container, like my cast iron dutch oven, which traps all of the steam coming out of the dough as it heats. The steam keeps the crust softer for longer, allowing the little air holes in the dough to grow to their full potential. Typically, if I bake anything that doesn't fit in a pot (i.e. baguettes & batards) I will keep a pan of hot water in the bottom of my oven to make steam. This often doesn't get very steamy though, and in the case of long thin shapes like baguettes, the crust sets too soon if there is not enough steam. The crust then acts as an exoskeleton preventing further growth of the air pockets in the baking loaf. The novel strategy in this article was to place a pair of long aluminum roasting pans over the loaves to trap the steam. These are those disposable silver things they sell at the grocery store. I bought a pair of giant size foil pasta pans to make a baguette cover, and 2 oven liners to bake on (since my sheet pan is too short for baguettes).


Materials & Methods
whole-wheat flour* all-purpose flour salt yeast malt powder ** water | Mass 38g 425g 10g 3.33g - 340g | Percentage 8% 92% 2.2% 0.7% - 73% |
** I did not use malt powder here - the recipe calls for 1 tsp
Timeline:
| Day Day 2 | Mix all ingredients in mixing bowl. Let rest for 30m to autolyse. Stretch & fold every 30m for ~3h Let rest overnight (should be able to go up to 72h refrigerated) (See video for shaping techniques) Pre-shape into letter fold rectangles - rest for ~20m Final shaping - more rest for ~1h until almost double in size Bake at 500F for 5m covered. Then for 15 more minutes uncovered. (I was using a nice convection oven this time with the fan on, but I still rotated the loaves half way through to ensure even coloration). |
Results
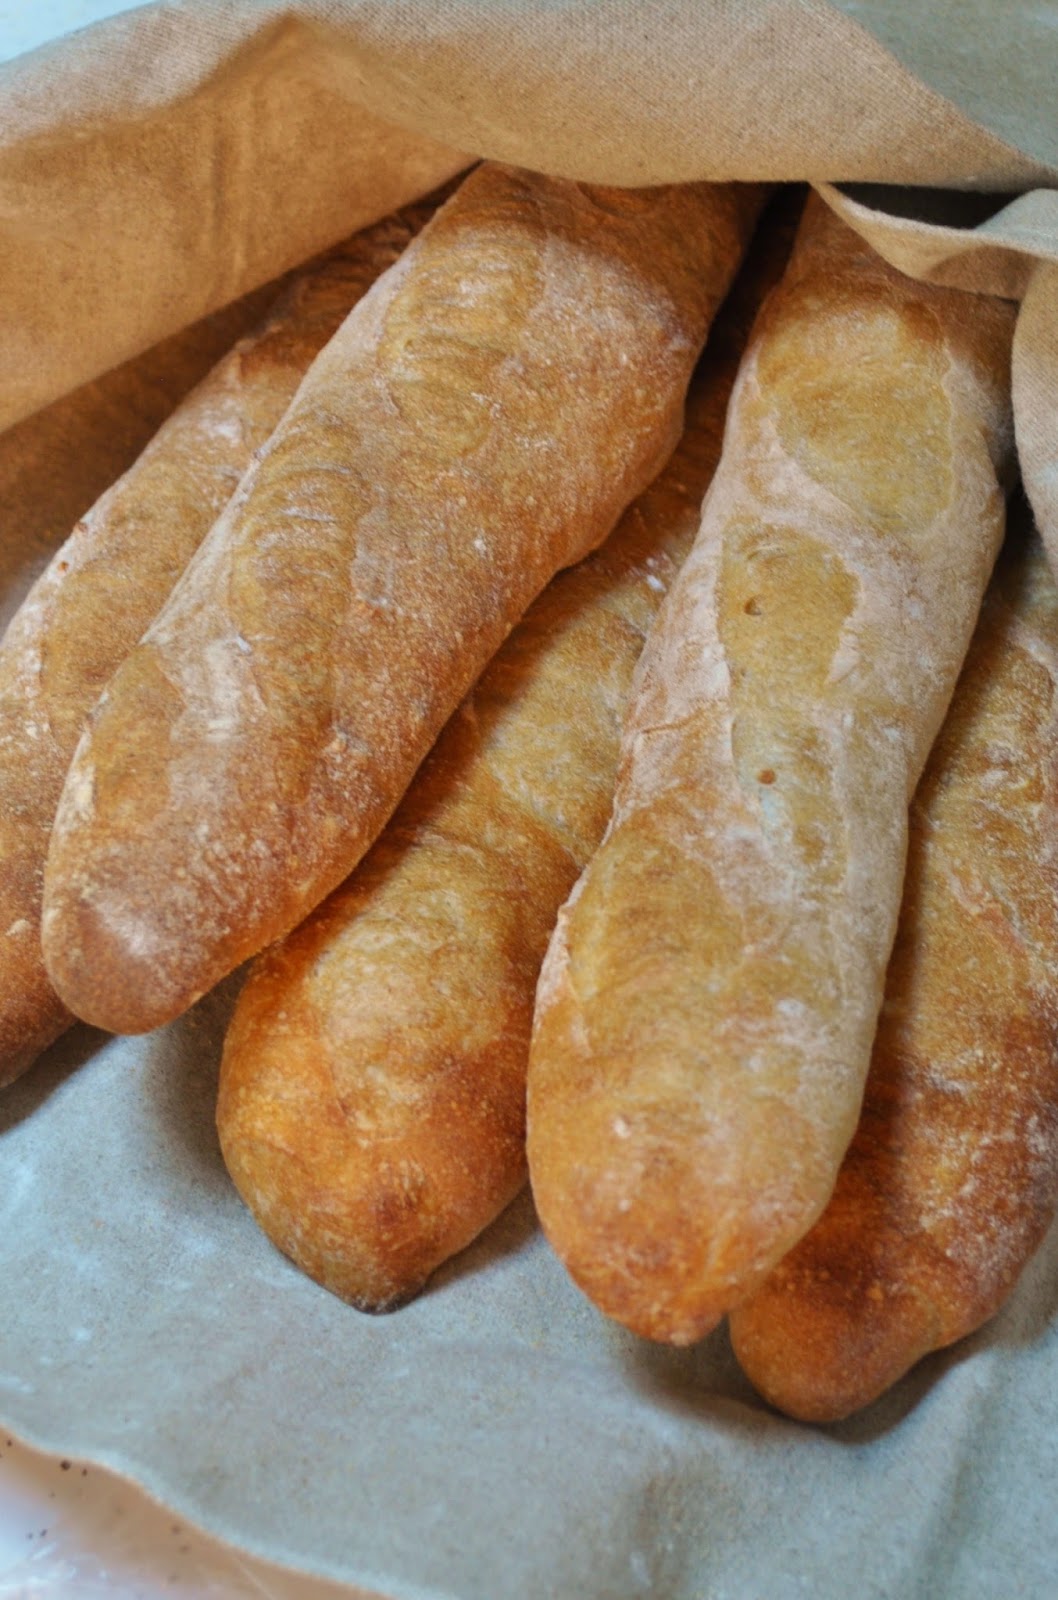
I was super happy with the way these came out! The crust was thin, crispy and a rich golden color - even without the malt powder. The crumb was creamy in color with little flecks of brown from the small bits of bran that remained in the whole wheat flour. And the texture was perfect, with a variety of different shapes and sizes to the air pockets. The flavor was light, sweet, and wheaty - very nice.

Conclusion
Such a simple solution to get a good rise from homemade baguettes. I will also use this for oblong loaves in the future (or anything I want to do more than one at a time of). I was very pleased with the hole structure of these loaves, and with all the practice I got forming these guys, my shaping technique is really coming along too. Now my next challenge is to get the slashing a little more consistent - and to eat all of these baguettes.
No comments:
Post a Comment